So you want to add a mirror disk to your existing single-disk VDEV in TrueNAS SCALE? Good idea for redundancy! But here’s the catch: the option is hidden in a non-intuitive place.
I spent way too much time looking for a blue “Add Mirror” button or something obvious. Spoiler: it doesn’t exist. If you’re not familiar with ZFS terminology (like me), the actual process is… not obvious at all.
The Problem
You’d expect to find something like:
- A big blue button saying “Add Mirror” or “Add Disk to VDEV”
- An option in the pool settings menu
- Some kind of wizard
Nope. None of that exists.
The Solution (Hidden Menu!)
Here’s where the option actually is:
Step 1: Open Pool Details
Navigate to Storage → Pools and click on your pool name to see the topology details.
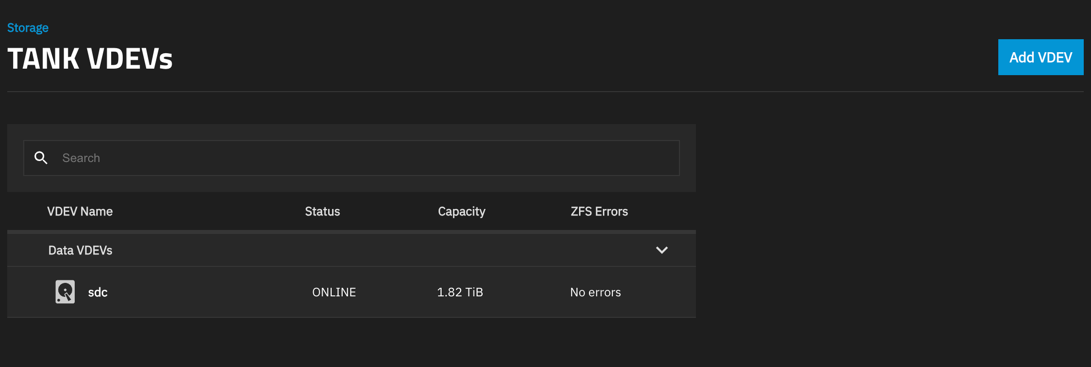
Step 2: Click on Your Single Disk
This is the non-intuitive part: click directly on the disk in the VDEV. Not the VDEV itself, but the actual disk row.
When you do this, a hidden menu appears on the right side of the screen.
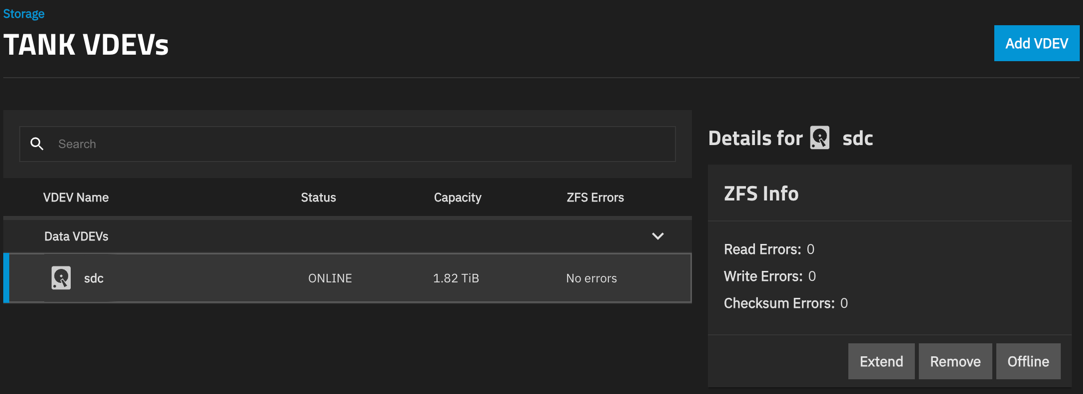
Step 3: Click “Extend”
In that hidden menu, you’ll see an “Extend” button. That’s it! That’s the option to add a mirror disk.

Click Extend, select your new disk, confirm, and ZFS will start resilvering your data to create the mirror.
Why “Extend”?
In ZFS terminology, you’re “extending” a single-disk VDEV into a mirrored VDEV. Makes sense if you know ZFS, but for the rest of us? Not so much. I was looking for “mirror”, “add disk”, or “redundancy” - not “extend”.
What Happens Next?
Once you click Extend and select your new disk:
- Resilvering starts: ZFS copies all data from the existing disk to the new one
- Monitor progress: Go to Storage → Pools to see the progress bar
- Wait: This can take hours to days depending on your data size and disk speed
- Done: Your VDEV becomes a mirror with full redundancy
The pool remains online and accessible during the entire process. You can keep using your data while the mirror is being created.
Important Notes
⚠️ Before you start:
- Make sure the new disk is equal or larger in size
- Have a backup (always!)
- The new disk will be completely wiped
💡 Good to know:
- This only works for single-disk VDEVs
- You can’t extend RAIDZ VDEVs this way
- If your new disk doesn’t appear in the Extend dialog, go to Storage → Disks and wipe it first
Conclusion
Finding this hidden “Extend” menu was frustrating, so I hope this saves you some time! The actual mirroring process is solid and reliable once you know where to click.
Now go add that redundancy and sleep better knowing your data is protected! 💾